Open WebUI
简介
Open WebUI 简介
"Open WebUI is an extensible, feature-rich, and user-friendly self-hosted AI platform designed to operate entirely offline. It supports various LLM runners like Ollama and OpenAI-compatible APIs, with built-in inference engine for RAG, making it a powerful AI deployment solution."
总的来说,Open WebUI 是一个 User-friendly AI Interface (Supports Ollama, OpenAI API, ...),更多内容可参考 Open WebUI 官方文档
Open WebUI 扩展组件
Open WebUI 扩展组件是 KubeSphere 提供的用于集成 Open WebUI 的插件, 并内置 Ollama 用于模型部署,支持用户在 KubeSphere 中快速部署 Open WebUI,并支持通过 KubeSphere 账户进行登录。
最佳实践
安装 Open WebUI 扩展组件并部署模型
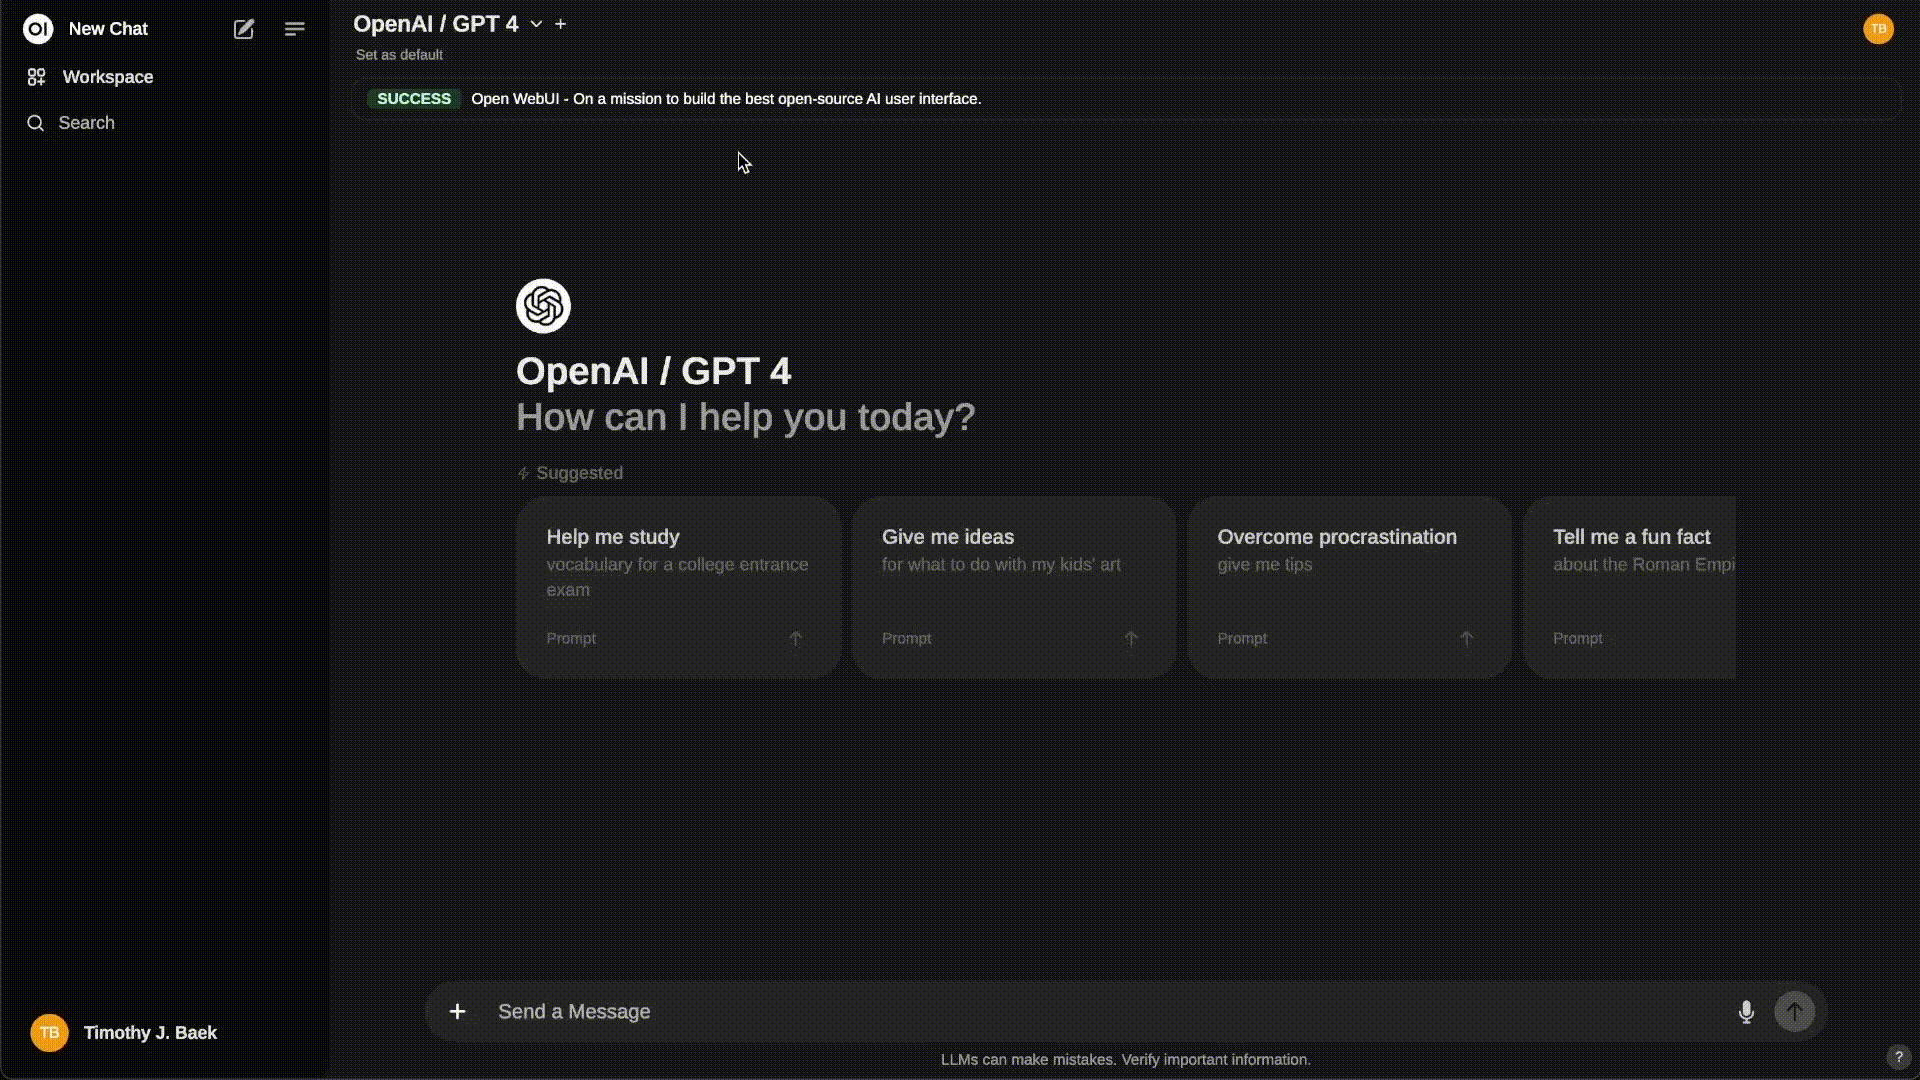
以下是在 KubeSphere 上安装 Open WebUI 扩展组件,并配置 deepseek-r1:1.5b 模型进行部署的配置文件,请根据实际情况修改配置文件中的 IP 地址和端口。然后就可以如图所示
open-webui-helper:
  # -- The URL of the Open WebUI
  # openWebUIUrl: "http://{nodeIP}:{NodePort}"
  openWebUIUrl: "http://172.31.19.4:32678"

open-webui:
  ollama:
    enabled: true
    ollama:
    #   gpu:
    #     enabled: true
    #     type: 'nvidia'
    #     number: 1
      models:
        pull:
          - deepseek-r1:1.5b
        run:
          - deepseek-r1:1.5b
    # runtimeClassName: nvidia
    persistentVolume:
      enabled: true

  # -- Service values to expose Open WebUI pods to cluster
  service:
    type: NodePort
    nodePort: "32678"
部署完成后,可以通过 KubeSphere 的 "组件坞" 中的 ""Open WebUI" 进行访问。
安装 Open WebUI 扩展组件并接入 KubeSphere 账户
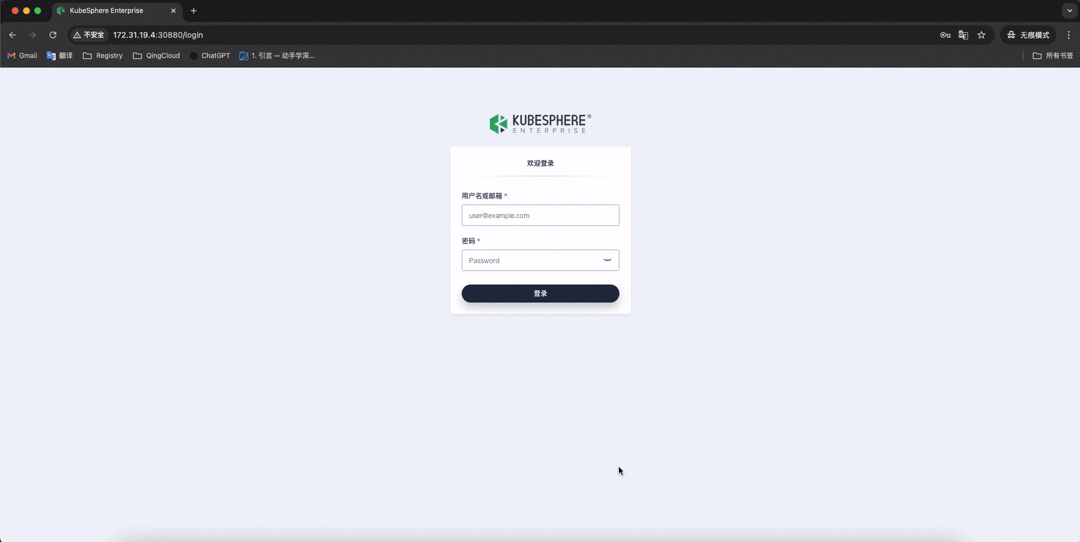
Open WebUI 提供了非常友好的 SSO 接入 , 而 KubeSphere 也可以作为 OIDC 身份提供者,那么,结合起来,就可以实现通过 KubeSphere 账户进行登录 Open WebUI。
首先,请确保已安装 KubeSphere,并配置了 portal.hostname 和 portal.port,请参考作为 OIDC 身份提供者 步骤进行配置。
然后在 KubeSphere 上安装 Open WebUI 扩展组件,进行以下配置,请根据实际情况修改配置文件中的 IP 地址和端口。
open-webui-helper:
  openWebUIUrl: "http://172.31.19.4:32678"              #-- The URL of the Open WebUI

  kubesphereAsOIDCProvider:
    enabeld: true                                       #-- Enable KubeSphere as OIDC Provider

open-webui:
  ollama:
    enabled: true
  service:
    type: NodePort
    nodePort: "32678"                                   #-- Service NodePort to expose Open WebUI pods to cluster
  extraEnvVars:
    - name: OAUTH_TOKEN_ENDPOINT_AUTH_METHOD
      value: client_secret_post
  sso:
    enabled: enabled
    enableSignup: true
    oidc:
      enabled: true
      clientId: "open-webui"
      clientSecret: "open-webui"
      clientExistingSecret: ""
      providerUrl: "http://172.31.19.4:30880/.well-known/openid-configuration"              #-- KubeSphere OIDC Provider URL
      providerName: "kubesphere"
      scopes: "openid email profile"
配置完成后,即可使用 KubeSphere 账户进行登录 Open WebUI。
高可用部署建议
- 将 Open WebUI 的数据库存储到外部数据库中,如 PostgreSQL。
- 部署 Redis 作为缓存,用于多副本 Open WebUI 通信, 以保证会话一致性等。
- 部署多个 Open WebUI 副本,以实现高可用。
- 可考虑 ollama 单独部署